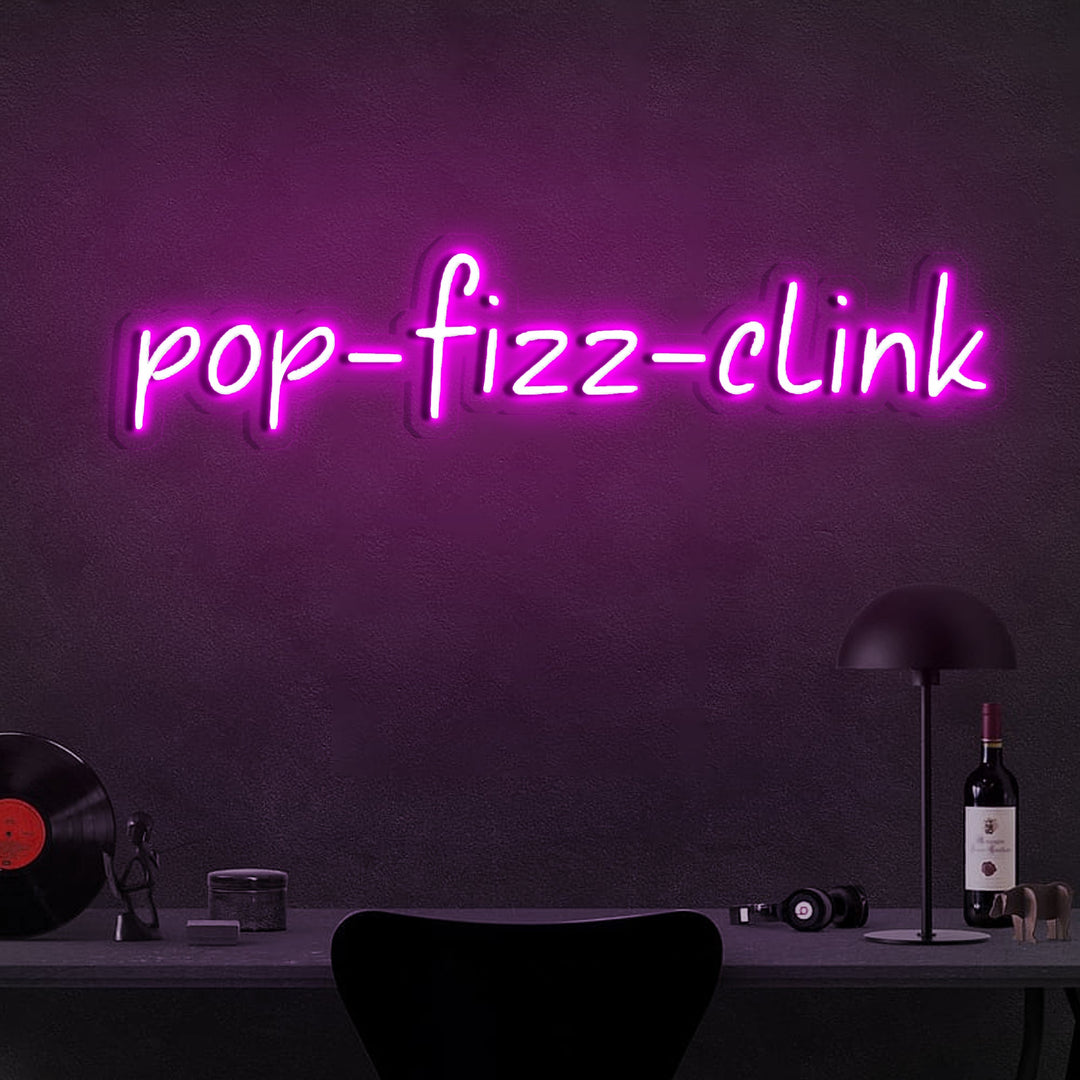
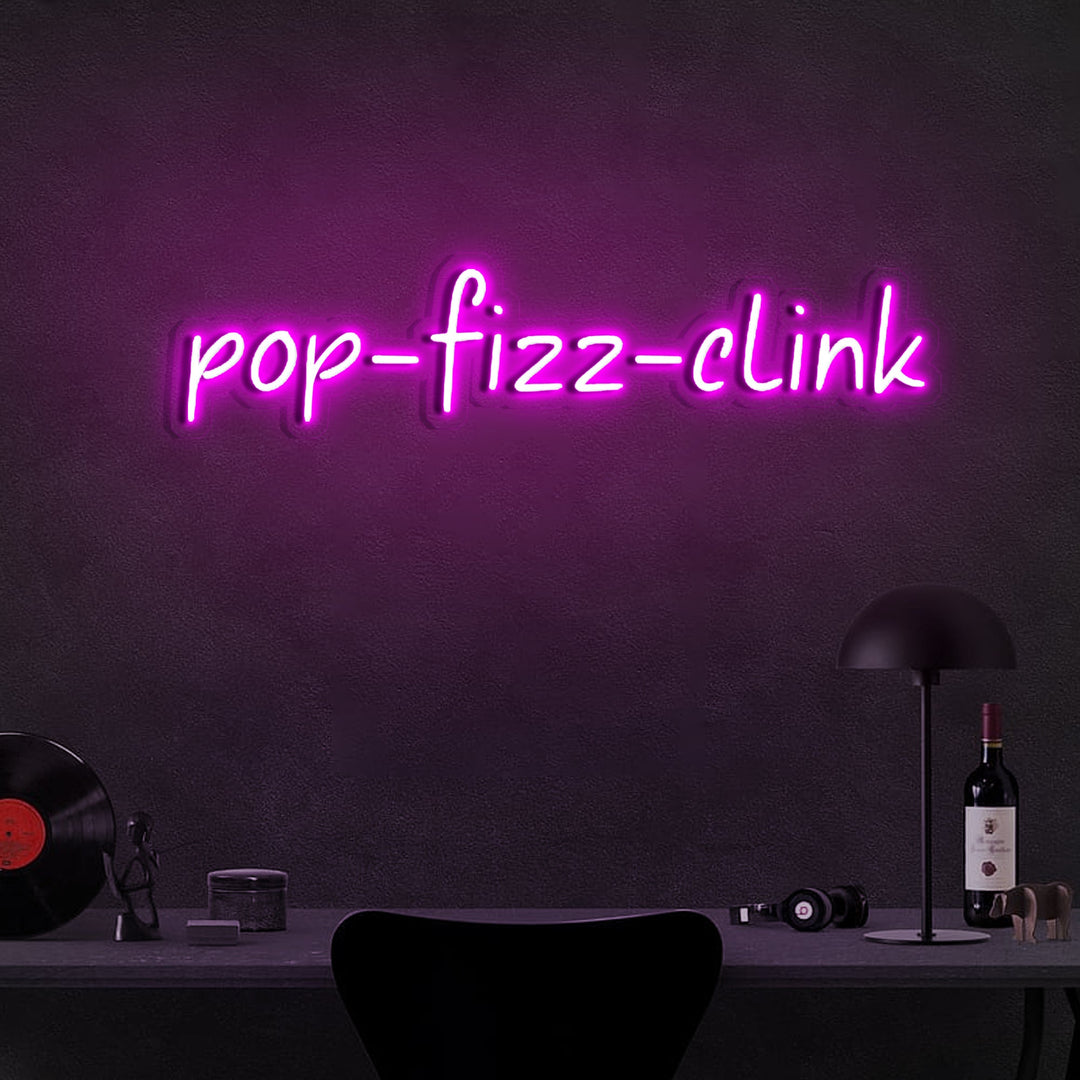
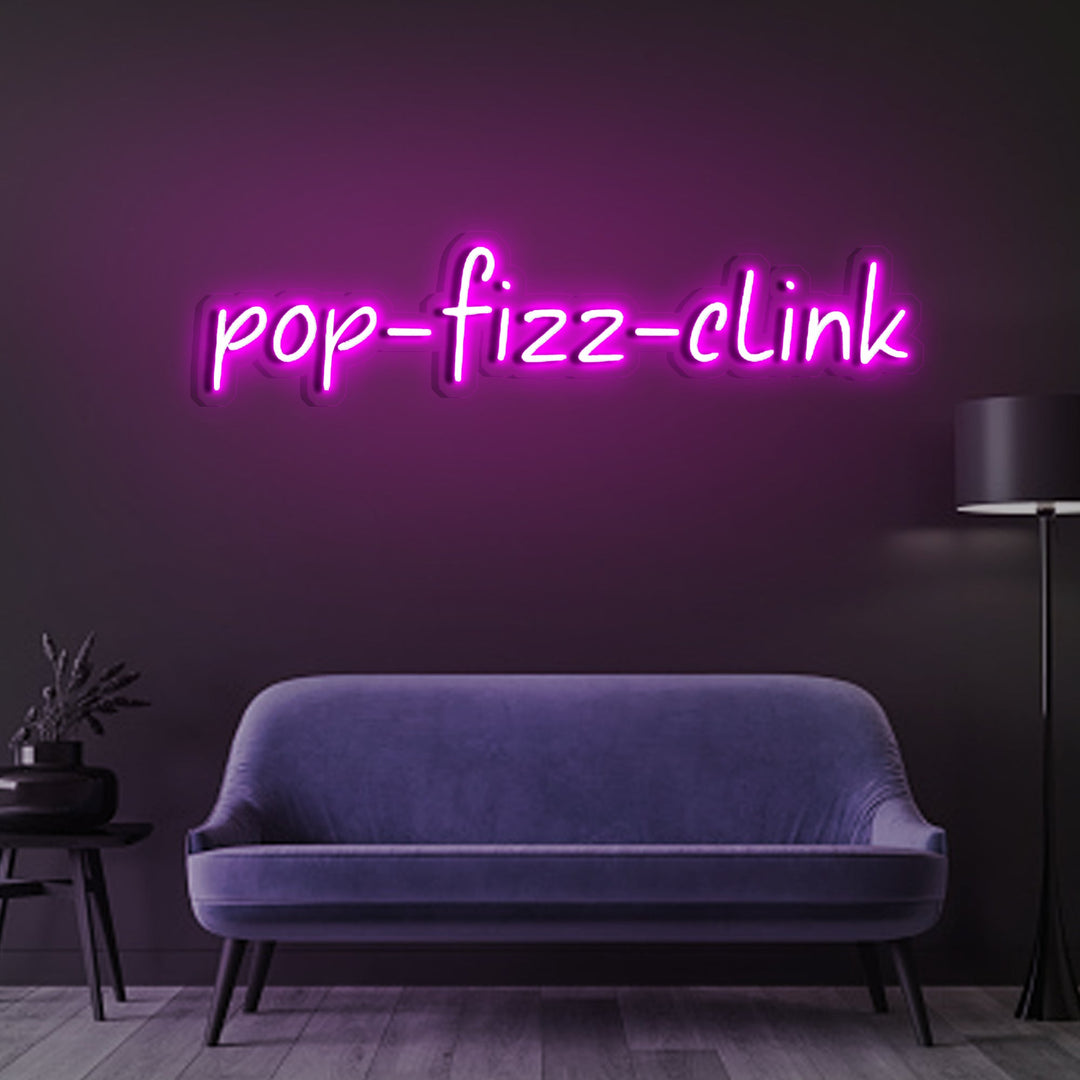
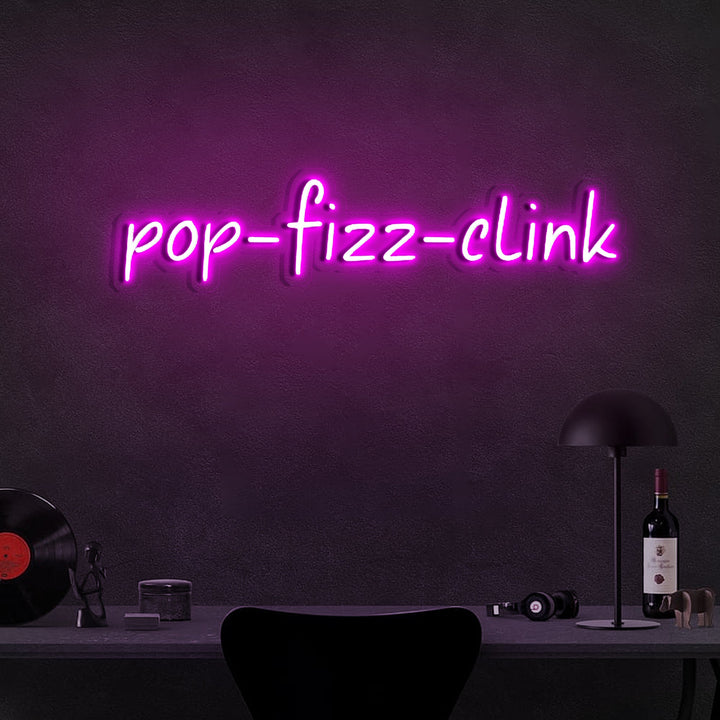
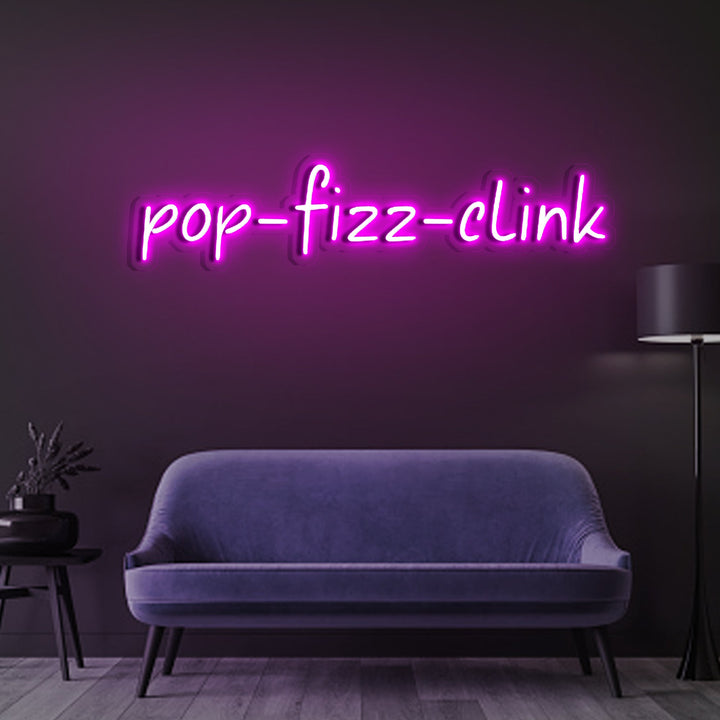
Pop Fizz Clink
Pop Fizz Clink Neon Sign 🥂✨ Celebrate in style with our "Pop Fizz Clink" neon sign. Whether it's a special occasion or just a casual get-together, this sign adds a touch of effervescence and joy to your space. The lively glow invites guests to toast and revel in the moment. Create an atmosphere of celebration and merriment, turning every gathering into a sparkling and memorable event.
PURPOSE
- Home Decor
- Party Decor
- Business Decor
- Give as a gift to family, friends or simply satisfy your hobby.
SHIPPING INFORMATION
|
SHIPPING METHOD |
DELIVERY TIME |
SHIPPING COST |
| Standard | 7-14 Business Days | FREE |
| Express Shipping | 5-10 Business Days | $75 |
Please note: If your order has any other changes, the delivery time will be later than expected corresponding to the number of days waiting for order adjustment.
Others
◈ Images are for representational purposes only, actual colours will vary depending on font size and selection.
◈ If you have a custom logo or image design, please click: Neon Custom Sign staff will get back to you within 24 hours with a FREE design and quote. Also you can check our latest products at Neon Sign.Please Note: LED Neon is meant for indoor applications only. If you wish to install your sign outdoors, Glass Neon is naturally waterproof and is the ideal choice.
SPECIFICATION
- LED Sign
- Wireless Remote
- LED Controller
- Installation Screws Kit
- Adapter
- Warranty
LED Neon Sign Installation Tutorial
Welcome to our LED Neon Sign Installation Guide! Follow these simple steps to mount your LED neon sign and illuminate your space.
Step 1: Marking the Spots

Begin by marking the spots on the wall where you want the LED neon light to be installed. Take your time to ensure accurate placement.
Step 2: Drilling Holes
Once the spots are marked, proceed to drill holes for the screws or wall anchors. Ensure the holes are appropriately sized for a secure installation.

Step 3: Placing Wall Anchors
Insert the wall anchors into the drilled holes. This provides a stable foundation for securing your neon sign.

Step 4: Attaching the Neon Sign
Now, using metal cylinders, drill the screws through them and into the wall anchors. Be sure to utilize the shock bands provided to gently press the acrylic into the mount.

Step 5: Tightening the Screws
Tighten the screws into the metal cylinders securely. This ensures that your neon sign is firmly attached to the wall.

Step 6: Connecting the Light
Connect the LED neon light to the power source. Follow the manufacturer's instructions to ensure a proper and safe connection.

Step 7: Connecting the Regulator
Connect the regulator to the outlet in the wall. This regulates the power supply to the neon sign.

Step 8: Turning on the Switch
Finally, turn on the switch to illuminate your LED neon sign. Enjoy the vibrant glow and ambiance it adds to your space!

Remember to follow safety guidelines and ensure all connections are secure before turning on the LED neon sign. Now, sit back and bask in the mesmerizing glow of your newly installed LED neon sign.

Create Your Perfect Neon Sign
Personalize Your Neon Sign in Two Easy Ways:
Online Design Tool
Create unique neon name signs with our online Neon Customizer tool. Easily make your own neon signs and order a custom name neon sign for any space. Enjoy your stay at Exo Neon!
NEON CUSTOMIZERGet a Free Quote
We create vibrant custom neon signs using UV printing, perfect for neon signs for bedroom decor and custom LED signs for businesses. Get a quote for custom logo neon signs effortlessly.
UPLOAD LOGO/IMAGE/ART

