


The PVC & acrylic backboard and LED Neon light make Exoneon Neon signs more stable and durable with 100.000 hours lifespan (more than 10 years). The newest UV printing technology brings you the sharpest design and vibrant color.
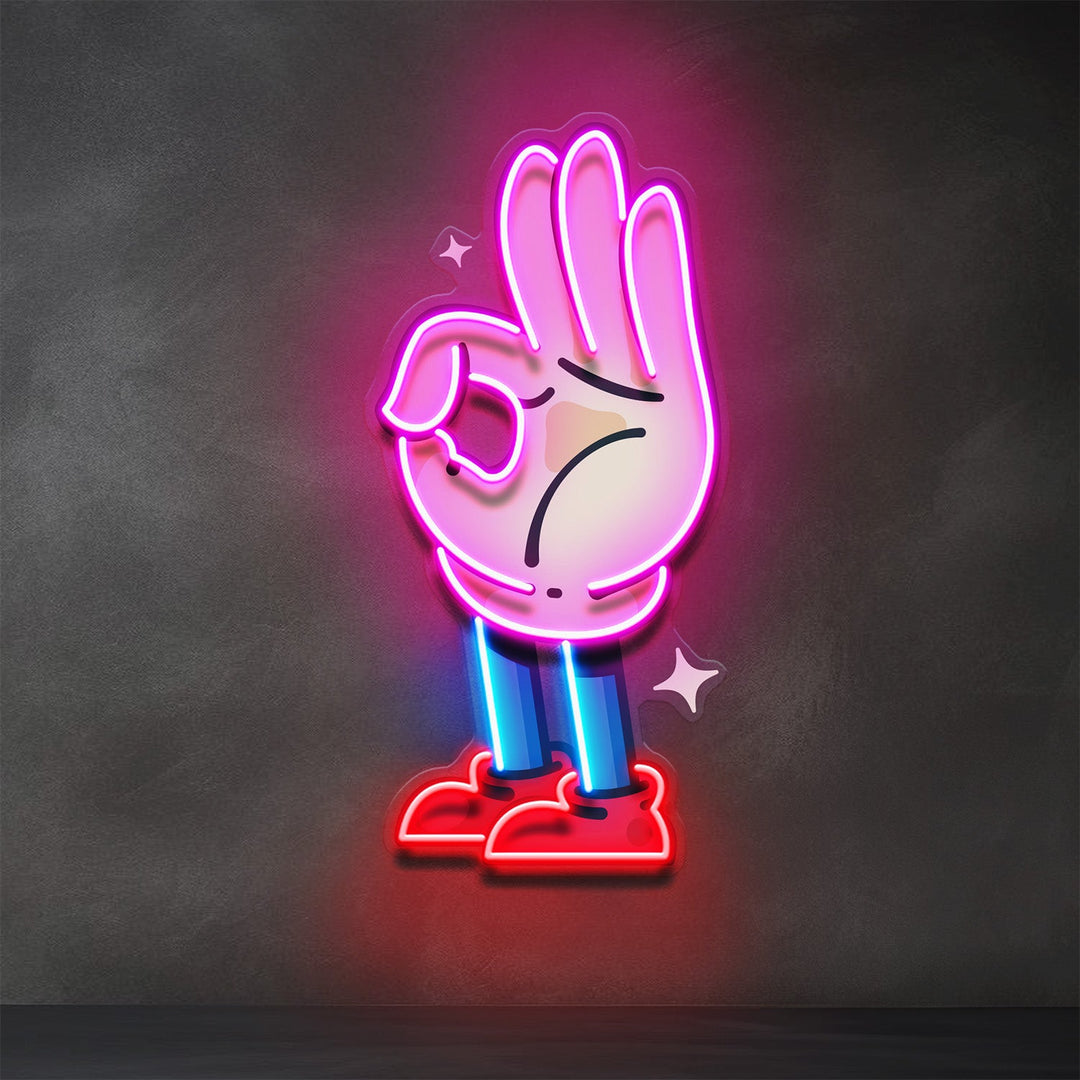
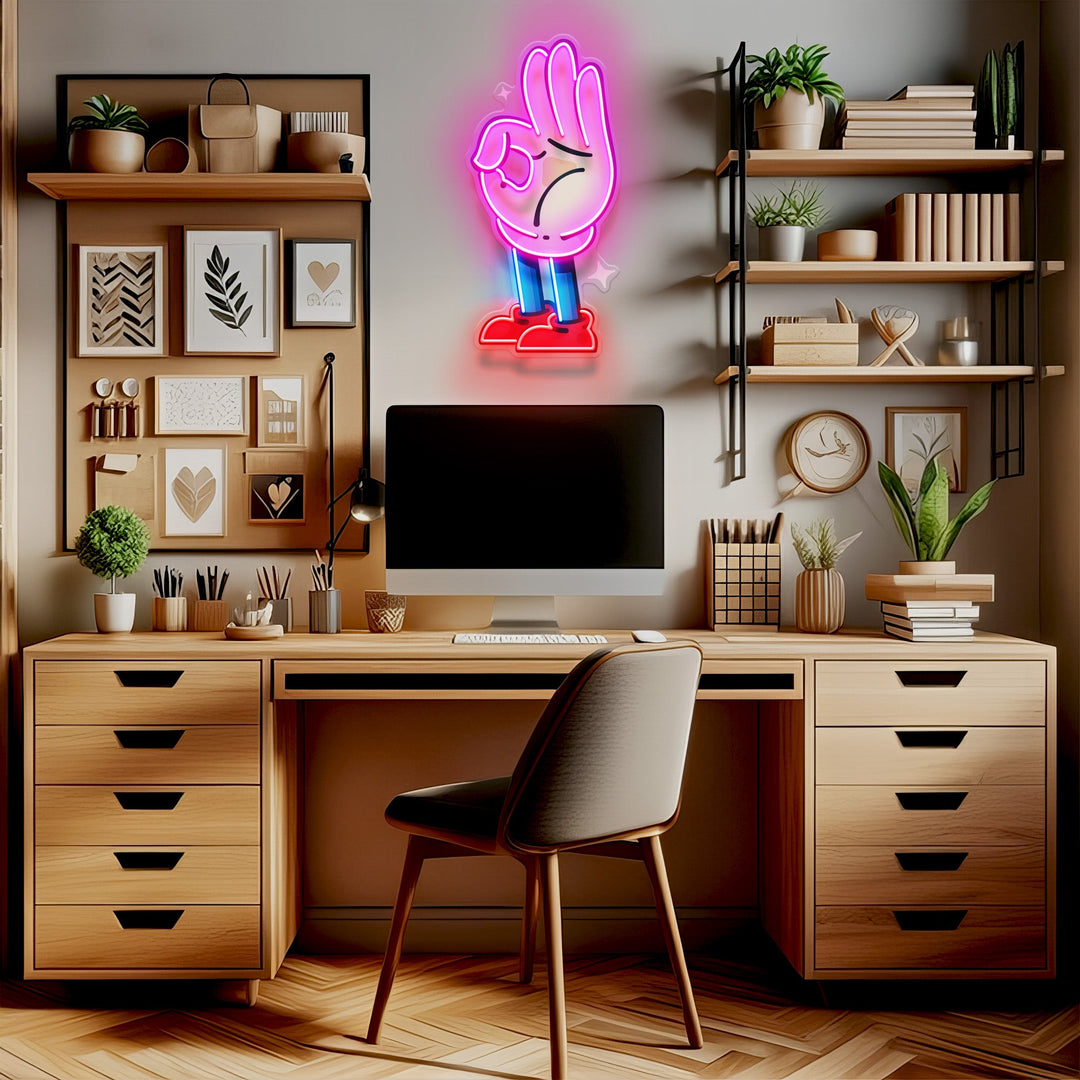
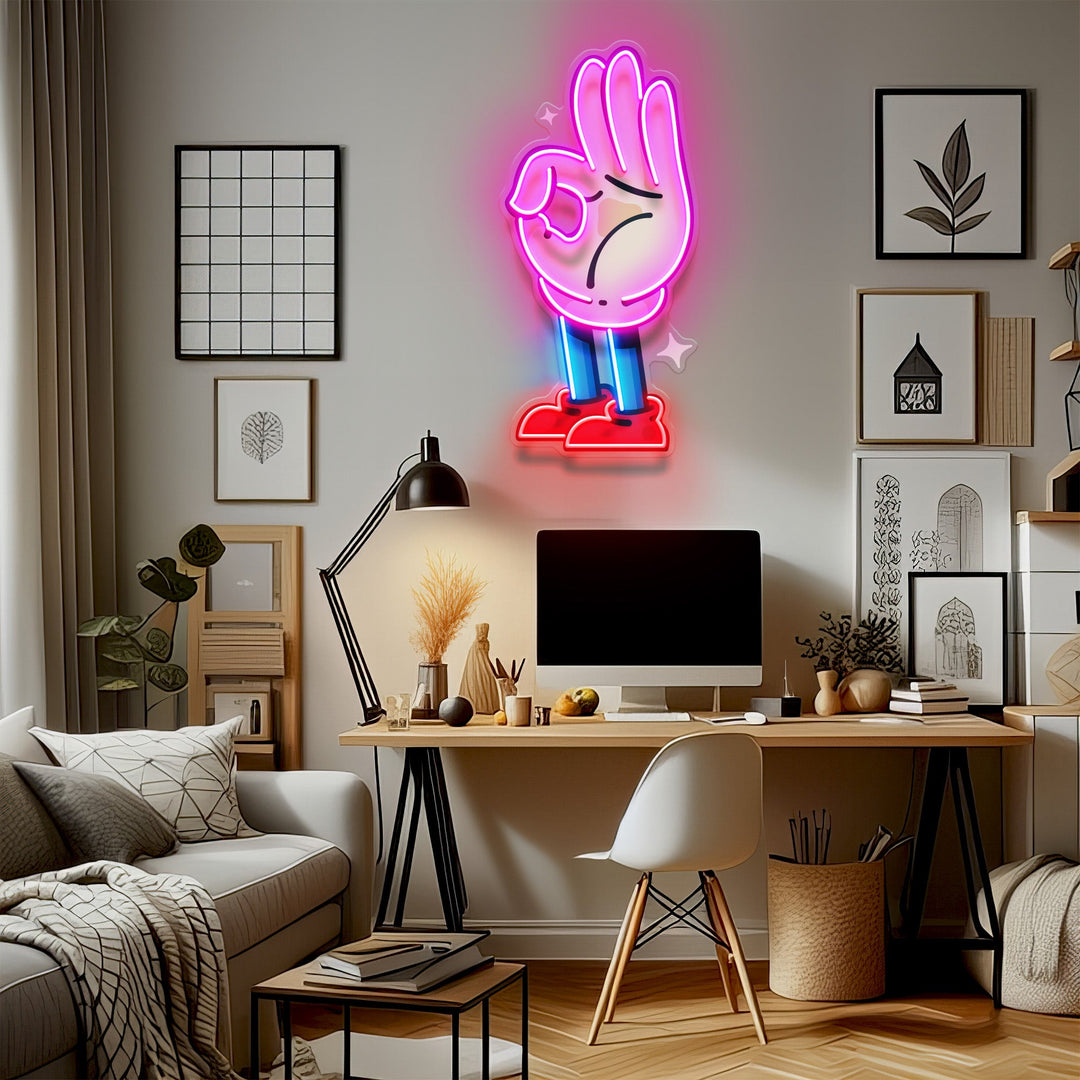
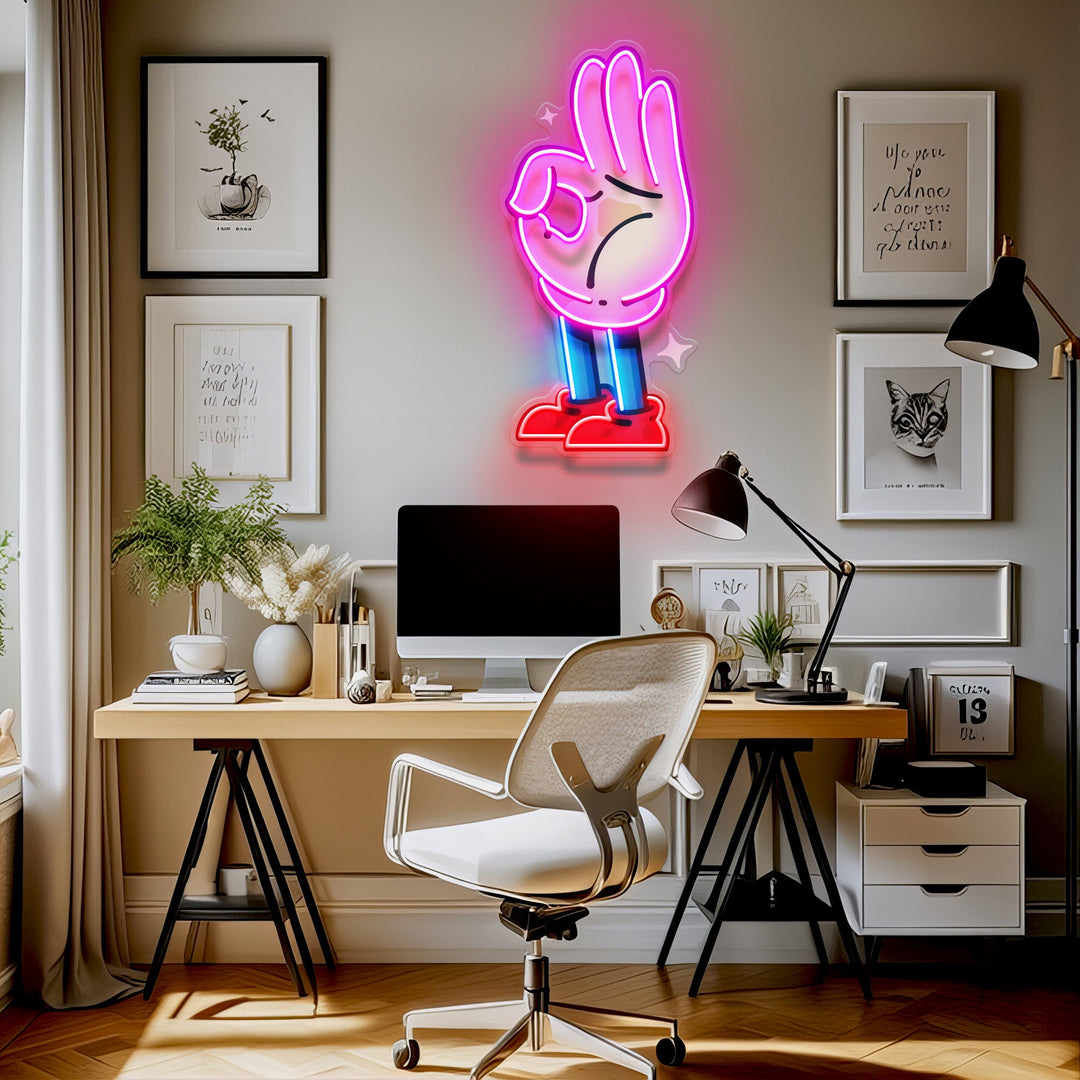
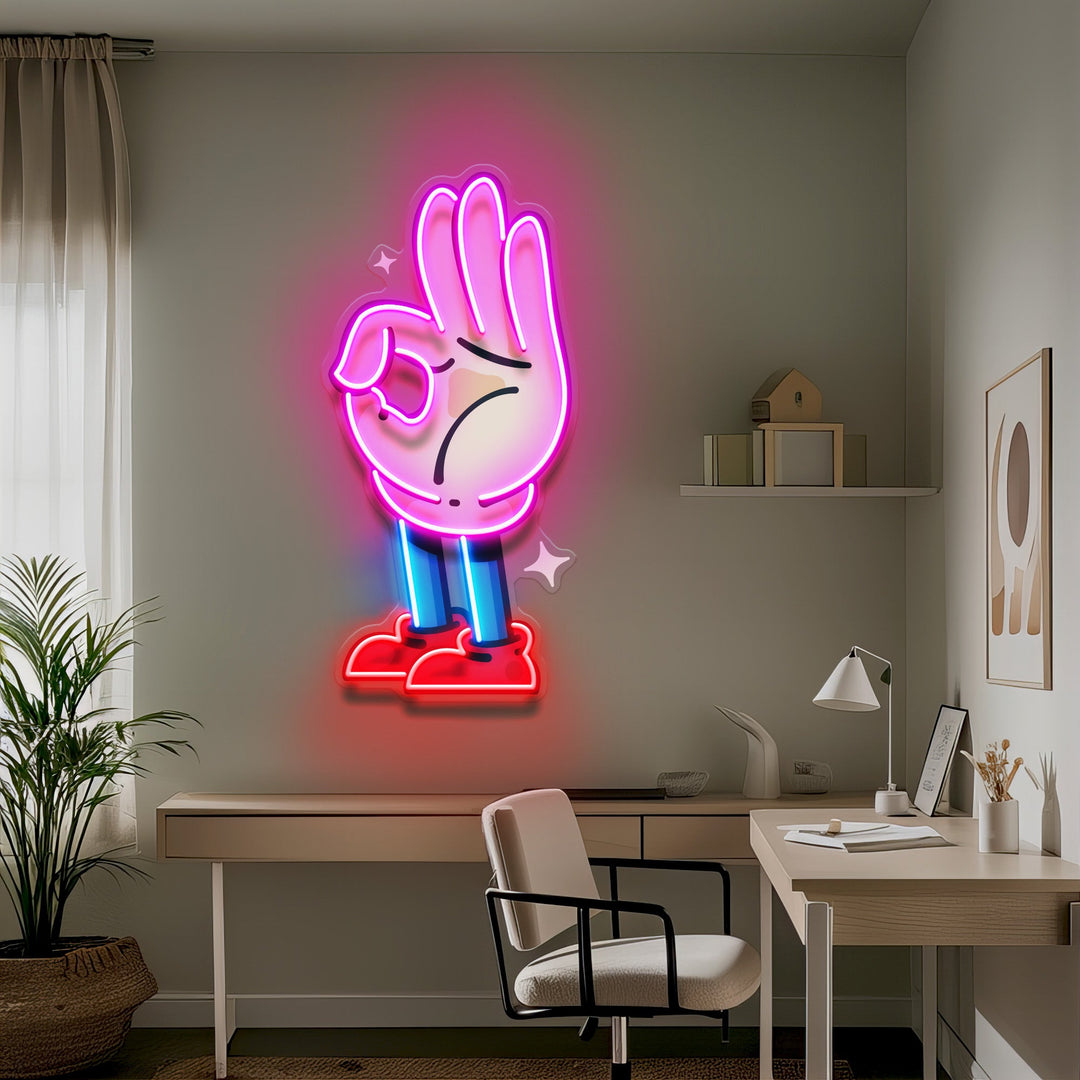
Abstract Art LED Neon Sign Light with vibrant LED lights create an inviting ambiance, making it a perfect addition to your home room (living room, bedroom), office, gaming room, event, outdoor home, party,...
| Product type | LED Neon Sign |
| Operate Voltage | 12V |
| Light Source | LED Chip |
| Neon Color | Multi-color |
| Base Board | Transparent Acrylic |
| Plug | US / UK/ AU/ EU |
| Mounting Way | Wall mounting / Hang on |
| Life Span | More than 100.000 hours |
| Warranty | 2 years |
| Power Supply | Yes |
| Adapter | Yes |
Welcome to our LED Neon Sign Installation Guide! Follow these simple steps to mount your LED neon sign and illuminate your space.
Step 1: Marking the Spots

Begin by marking the spots on the wall where you want the LED neon light to be installed. Take your time to ensure accurate placement.
Step 2: Drilling Holes
Once the spots are marked, proceed to drill holes for the screws or wall anchors. Ensure the holes are appropriately sized for a secure installation.

Step 3: Placing Wall Anchors
Insert the wall anchors into the drilled holes. This provides a stable foundation for securing your neon sign.

Step 4: Attaching the Neon Sign
Now, using metal cylinders, drill the screws through them and into the wall anchors. Be sure to utilize the shock bands provided to gently press the acrylic into the mount.

Step 5: Tightening the Screws
Tighten the screws into the metal cylinders securely. This ensures that your neon sign is firmly attached to the wall.

Step 6: Connecting the Light
Connect the LED neon light to the power source. Follow the manufacturer's instructions to ensure a proper and safe connection.

Step 7: Connecting the Regulator
Connect the regulator to the outlet in the wall. This regulates the power supply to the neon sign.

Step 8: Turning on the Switch
Finally, turn on the switch to illuminate your LED neon sign. Enjoy the vibrant glow and ambiance it adds to your space!

Remember to follow safety guidelines and ensure all connections are secure before turning on the LED neon sign. Now, sit back and bask in the mesmerizing glow of your newly installed LED neon sign.

Personalize Your Neon Sign in Two Easy Ways:
Create unique neon name signs with our online Neon Customizer tool. Easily make your own neon signs and order a custom name neon sign for any space. Enjoy your stay at Exo Neon!
NEON CUSTOMIZERWe create vibrant custom neon signs using UV printing, perfect for neon signs for bedroom decor and custom LED signs for businesses. Get a quote for custom logo neon signs effortlessly.
UPLOAD LOGO/IMAGE/ART