DIY Guide: How to Install Neon LED Lights in Your Room
Do you want a detailed guide on how to install neon LED lights in your room? There is no need to look any further! In this blog post, we will walk you through the process of installing neon LED lights in your room, including all of the necessary materials and tools, planning and preparation steps, troubleshooting tips, and maintenance advice. So, let's get started!
Installation Materials and Tools for Neon LED Lights

Gather all of the necessary materials and tools before beginning the installation process. Here is a list of what you will require:
- Connectors for neon LED strips
- Power source
- Drilling and screws
- Tape for masking
- Scissors and a ruler
- Pencil
Neon LED Lights Layout
The layout is the first step in installing neon LED lights. You must first decide where and how you want the lights to be installed. Mark the locations where you want to install the lights with masking tape. The length of the LED strips should also be measured and cut to fit the desired layout.
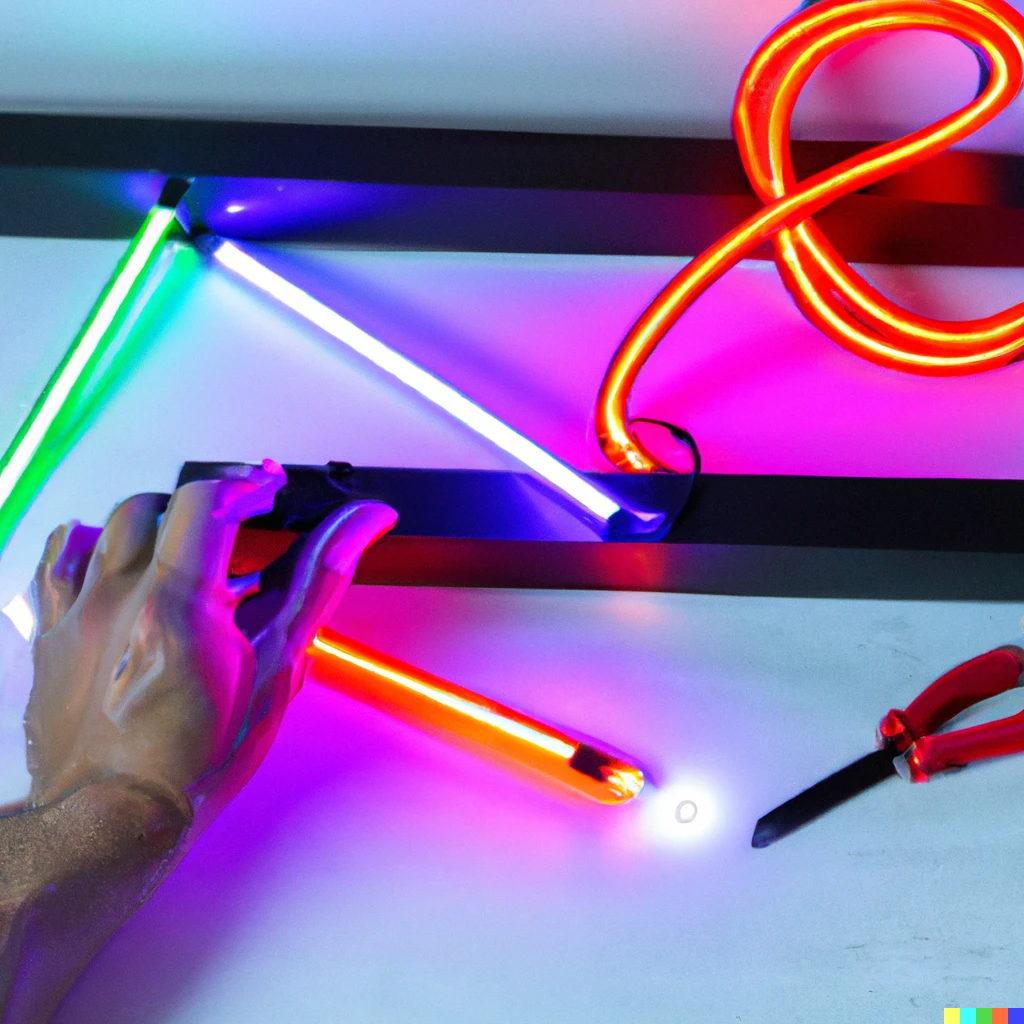
Neon LED Strip Cutting and Measuring
After deciding on a layout, measure the length of the LED strips and cut them accordingly. To cut the strips to the desired length, use a ruler and scissors. To avoid damaging the strips, use extreme caution when cutting them.
Neon LED Light Installation

It's time to begin the installation now that you've planned the layout and cut the LED strips to size. Here's a step-by-step guide to help you install your neon LED lights:
Step 1: Join the LED strips together.
Connect the LED strips together using the connectors. Make sure the positive and negative terminals are correctly matched.
Step 2: Connect the power supply.
Connect the LED strips to the power supply. Check that the power supply is appropriate for the LED strips you're using.
Step 3: Install the LED strips
Mount the LED strips on the wall or ceiling with screws and a drill. Choose the appropriate screw for the surface you're mounting them on.
Step 4: Switch on the lights.
Turn on the lights after you've installed the LED strips to ensure they're working properly.
Neon LED Light Troubleshooting
Even if you plan and install the neon LED lights correctly, you may run into some problems. Here are some common issues you may encounter and how to resolve them:
- Flickering lights: Make sure the connectors are properly connected and the power supply is stable.
- Loose connections: Check that the connectors and terminals are properly matched.
- Check to see if the power supply is compatible with the LED strips you're using.
Upkeep of Neon LED Lights
You must properly maintain your neon LED lights to ensure that they last a long time. Here are some pointers to help you keep your neon LED lights in good condition:
- To remove dust and dirt, clean the LED strips on a regular basis.
- Check the connections on a regular basis to ensure they are secure.
- Don't add too many LED strips to the power supply.
Conclusion
Congratulations! You've completed the installation of neon LED lights in your room! You can easily make a one-of-a-kind and eye-catching neon LED light room decor using this step-by-step guide. Remember to troubleshoot and maintain your neon LED lights to ensure their longevity. Have fun with your DIY projects!
Finally, installing neon LED lights in your room can be a creative and fun DIY project. You can easily transform your room into a stunning and vibrant space with the right materials, tools, and planning. This DIY guide has provided you with a step-by-step procedure for installing neon.